Week 28: Climbing Every Mountain
It’s Week 28 of the 52-Week Art Journal Journey. I noticed something after putting together the second recap clip reel I posted on social media during Week 26. One of the clips was of a page that wasn’t actually a prompt, just in my art journal. I decided to rectify that. So I tweaked it a bit, and here we are.
If you’re new and wondering what the heck the 52-Week Art Journal Journey is, you can click here to check out a video introduction on YouTube, or use the 52-Week Art Journal tab in the menu. Welcome!
This week you’ll need purple, blue, and black acrylic paint. You’ll also need white, but I forgot to put that in the first part of the video. I also forgot to start the camera to show you the “happy accident” I incorporated, only noticing after I’d started demonstrating working with it that I wasn’t filming. Oh, well. Y’all know I’m not perfect, and that perfection is not our purpose.
You’ll also need a damp piece of kitchen sponge, a paper scrap slightly wider than your paper (brown packing paper is ideal), scissors, and a glue stick. When I made the video my brain went a little sideways, and I forgot I did not originally spread the paint with a brush before using the sponge. If I had, I could have avoided the harsher line I had to adjust to save a smoother gradient.
If you’d like to watch before you read, scroll on down…
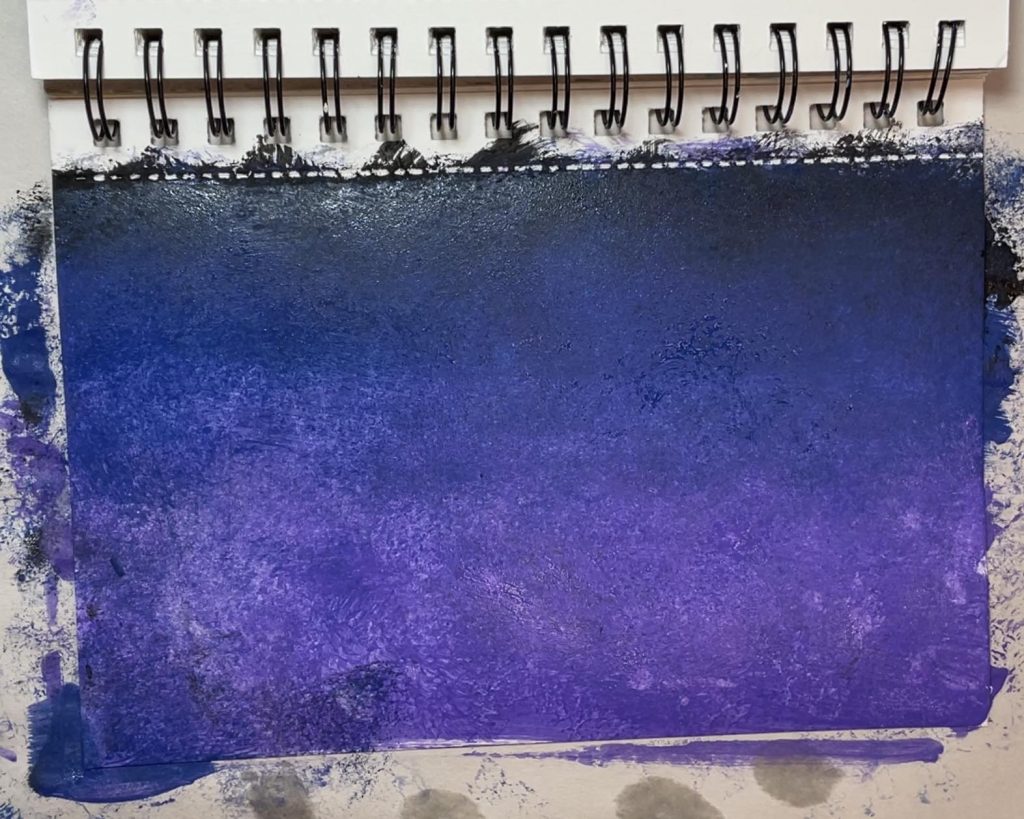
Sky
The first step, if you’re using inexpensive crafty acrylics like me, is pour a couple of lines of our purple paint in the lower half of our paper. Then a generous line of blue about two-thirds of the way up.
I used my sponge to start blending these before adding my black paint along the top. I’ve only used the sponges that come slightly damp and wrapped in plastic, then dry out. If this is the type you are using, you will need to wet it. Wring it out pretty well. You don’t want it leaving water in your paint, just softened enough to effectively blend the paint. I’ve heard you should use a soft sponge dry.
If you find you’re transferring too much paint from one color into your other, change sides or edges, and rinse as needed. You can also use multiple sponges.
Add a thinner line of black along the top. And keep blending with your sponge until you’re happy with your gradient.
Then set your dusky sky aside.
Mountains
Choose which long side of your paper will be toward the top of your page, will be your mountainous horizon.
Tear accordingly.
When you’re happy with your craggy, or smoother, mountaintops, crumple up your paper.
Open it back up without smoothing it too much. Apply a decent amount of black paint, and a bit of purple. I went a bit overboard, and made a bit more of a mess than usual, but this is where the paintbrush comes in handy. Spread your black and purple paint out to fully color your mountains.
Then crumple up your paper mountain range again. If, like me, you put on too much paint, give your crumpled paper a bit of a squeeze. Yup, messy.
Paint-drying time is a good time to find a good mountain quote to add to this week’s page, and think about how you’d like to incorporate it.
The entire time I was making this, the phrase, well lyric actually, that kept going through my head was “Climb every mountain” though it has been some time since I watched The Sound of Music. And, at the risk of offending some of you, I’m not a big musicals fan. I used to kind of be…
But I think I’ll run with it…
Because we all have mountains, challenges, things we need to face and overcome.
And that’s the focus of this week’s words.
They can be as prominent or hidden as you’d like them to be. If you’d like to have them completely personal and hidden, you could even write them in tiny letters behind where your mountains will stand. If you have a white pen, you can write on your mountains. Or write with white or a color that will show up in your sky. Write or print out something on a separate sheet of paper. Or cut something from a magazine.
Today’s small art is about inspiring yourself to keep climbing.
Feel free to share on social media if you’d like to inspire others. Be sure to tag me on Instagram, melindavanry (or melindavanrydesign on Facebook). And use #artjournalwithmelinda if you’d like. I would love to see what you come up with. If you’d like to share in a smaller, safe setting, email subscribers are invited to join the Art Journal Journey private Facebook group. If you haven’t yet, you can sign up here.
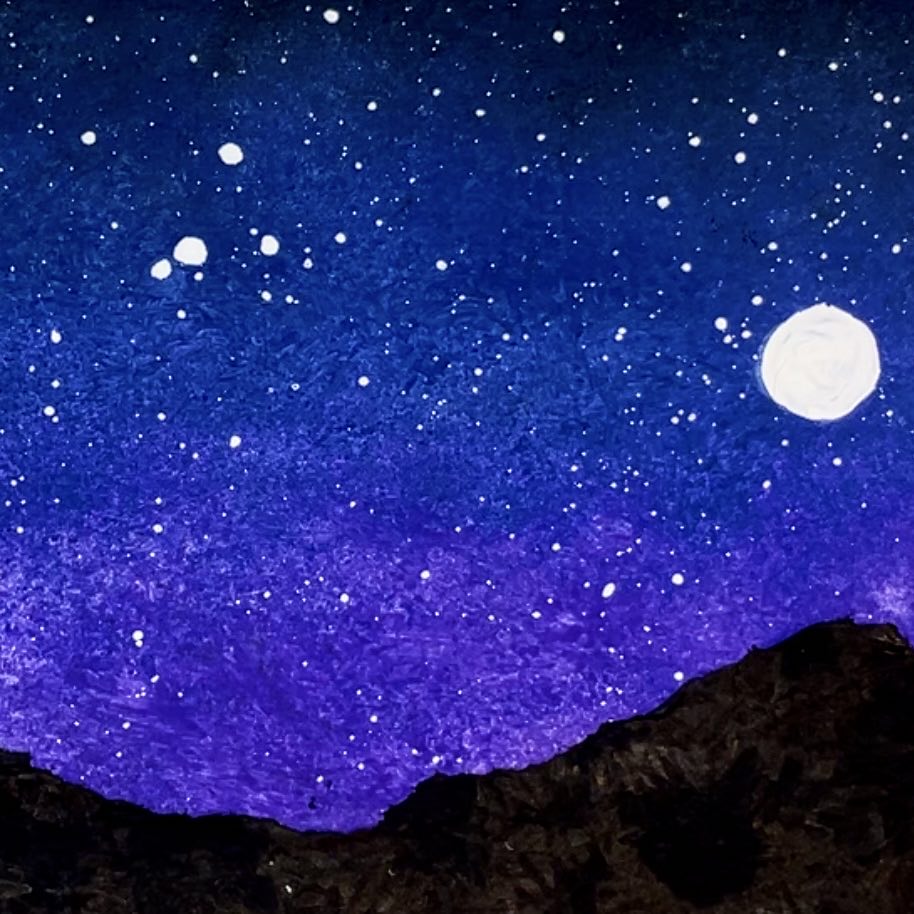
Stars
Before we glue on our mountains, we’re going to give ourselves a sky full of stars. You’ll need white paint and a little bit of water. Your narrowest brush is best.
My sky also has a moon. I did not intend to paint a moon, and it probably wouldn’t have been full if I’d wanted to paint one. But this is an example of making the best of an oops. Somehow when my paint was still quite wet, I, in my less than gracefulness, dripped water on it. It’s a bit oddly placed, but, yes, we’ll join Bob Ross in chalking it up to a happy accident.
What you do or don’t have in your sky is up to you.
Maybe you’ll want to remind yourself that there’s always something to reach for in the struggle of the climb.
Wet your brush, pick up some paint, and then some more water.
I will say that making your first splatter on your surface protector instead of your page will probably save you from what could be seen as oddly oversized stars I ended up with amongst my others.
When your stars and mountains are dry enough, it’s time for our trusty glue sticks.
Glue your mountains to the bottom of your page, and cut off any overhang after your glue is dry.
How will you choose to do your mini-journaling?
Thank you for joining me for another small-art and journaling prompt. I appreciate the opportunity to encourage you to reclaim your creativity, and establish a healthy habit of creative self-care through art journaling. I’ll be back next week with another small-art and journaling prompt. In the meantime, enjoy making your mountain night sky. You could also use warmer colors to create a sunset… Oooh, that would be a fun idea for an upcoming prompt… But I really liked the starry sky effect for this one. Until next time you can also check out any past prompts you may have missed, here first, or watch them on YouTube. If you haven’t yet, I’d love to have you join me on Facebook or Instagram.
I’m glad you’re taking time for creative self-care.