Week 19: Go with the Flow
It’s Week 19 of the 52-Week Art Journal Journey, and we’re exploring watercolors this week. Last week started out about watercolor, but when I decided to play with watery acrylics instead, I never did get back to the watercolors. So I started this week’s video with watercolor-and-plastic-wrap fun I had after last week’s video was complete.
I see so many interesting little watercolor-technique reels on Instagram, and, again, this week seems like the perfect time to experiment some more and invite you along for the fun.
If you’re new here and wondering what the 52-Week Art Journal is all about, check out our Week 1, where we made our journals, and this journey our own… and there’s Week 2 if you need to know that your art journal isn’t the place to pursue impossible perfection. Have fun. Explore. Learn. Grow.
Watercolor is perfect for reminding us that expecting perfection of ourselves is unproductive. Especially for the majority of us who don’t have a lot of experience with watercolors. For one thing, they never looks the same dry as wet. I can never quite accurately picture how different each piece will look in the end… and that’s okay. Remember that our art journals are for us to enjoy, not stress over.
If you’d like to watch the video before you read, scroll on down… I did forget some instructions when I filmed…
Supplies
I used an inexpensive set of kids’ solid watercolors. Reclaiming your creativity and establishing a regular habit of creative self-care art-making doesn’t need to be expensive. And, in my prompts and videos I use common materials that many of us have around, or can easily access for not too much money. I will warn you, though, if you don’t already know, you may not want to stop with the basic basics once you find the types of art-making that light you up. Maybe next year I’ll have to give away a $51 Blick Art Materials gift certificate since this year was 50 for My 50th… Doesn’t an unlimited art-supply budget sound amazing?!?
Other things I ended up using in this week’s video:
- a cup of clean water… that I had to replace multiple times
- soft paint brushes in various sizes and shapes
- plastic wrap, as mentioned
- a plastic juice bottle cap
- Micron pens (this is the set I’m using)
- rubbing alcohol
Another week of paint playtime
I decided the first plastic wrap piece was perfect for playing with a bubble effect I’d tried in the past, but thought my colors were too vivid to look like bubbles. My edges were wonky, too, but they were fun, anyway. They didn’t make it into a video because I ended up going a different direction that week. I did use the technique to make Valentines at the library where I work. Instead of a round cap, use a toilet paper tube bent into the shape of a heart if you’d like to try that. If you’re not usually a video-prompt watcher, I, as last week, encourage you to check out this week’s.
One benefit of the plastic is that you don’t have to worry about it degrading with multiple uses. If you try the toilet-paper tube method, either as a heart or round or other shape you can squeeze it into, it works best if you wet the tube before applying the paint to the edge.
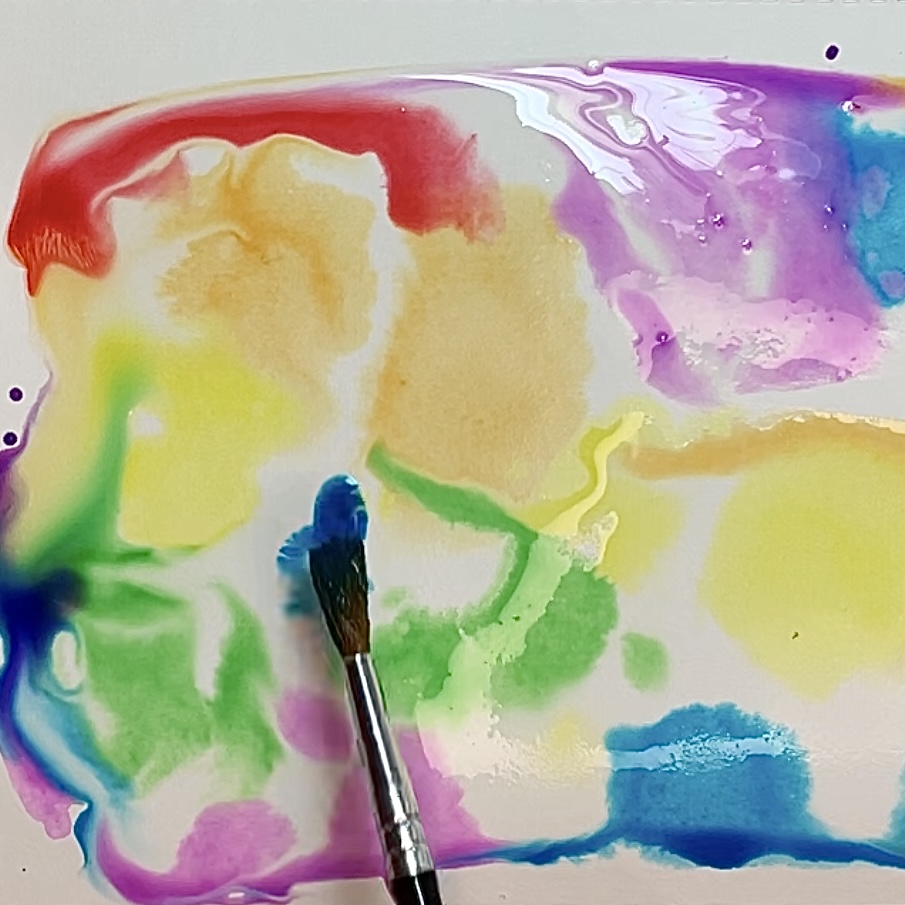
That’s the first step: apply watercolor around the edge of the cap or tube. Be careful about the colors you put next to each other in all of these projects. The primary colors—red, yellow, blue—always work next to each other, but watch out for the secondary, or you’ll end up with mud… which I did end up with in my second plastic-wrap watercolor page. You’re safe with two primaries and the secondary they make (yellow + blue = green, blue + red = purple, red + yellow = orange). Mud isn’t always a bad thing, but I didn’t want any in my bubbles.
The problem I had most this week was… too much water.
In some cases the corner of a paper towel can be useful for that…
More techniques
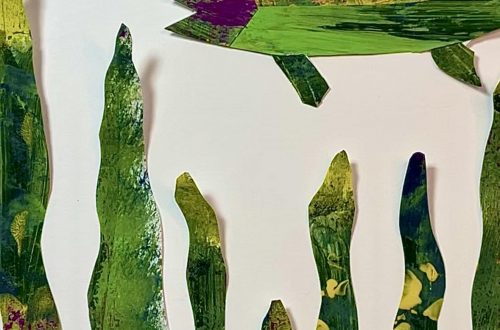
I’ve seen flowers with petals made from two drops of color. Pick two colors you’d like to see in a flower, and make five pairs of dots roughly in a circle. Then use a wet brush to pull each pair into the shape of a petal. I added some buds with the same technique on a smaller scale, and less successfully with the wrong size brush. And leaves by “painting” a leaf shape with water and then letting the green fill them as it wanted. And little drops of water colored with red paint. I added details with my Micron pens.
Yes, this week I ended up again choosing to have more fun playing. I followed ideas as they came into my head. Sort of stream-of-consciousness arting.
And that’s how we’ll do our writing this week, too.
Anything on your mind you want to process? Express? Vent? Record?
Need a prompt?
Here’s one for you: Today, I…
Start writing. Keep writing. Whatever comes to mind.
Go with your flow, so to speak. As watercolor pigment moves with and through water.
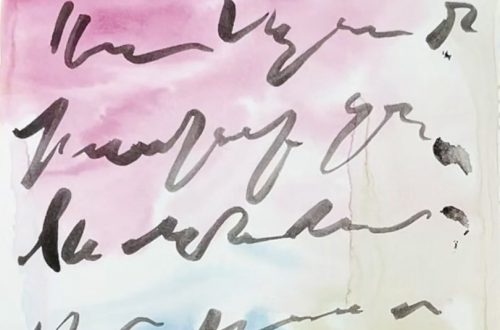
With watercolor alcohol works a bit like an eraser. After playing with it, and water, in wet paint, I played with them, and paint splatters, on dry watercolor, on one of my earlier plastic-wrap watercolors. As I’ve mentioned before, what I ended up with after the alcohol and water continued to slowly bleed into and dissolve the color, and then everything dried, was different from what I could see as I played.
Again this week I say, have fun. Experiment. Let your mind and spirit explore. In colors and words.
Thank you for another opportunity to encourage you to reclaim your creativity, and establish a healthy habit of creative self-care through art-journaling.
If you ever decide to share any art you create in your art journal on social media to encourage others to take time to art, tag me @melindavanry and, if you’d like, use the hashtag #artjournalwithmelinda.
Click here to check out my latest arty links (including to vote in the latest Spoonflower challenge I’ve entered; voting continues through Tuesday, May 9 at 3:00EDT).
I’ll be back next week with another prompt. Thanks for joining me on this part of my art journey.


You May Also Like
Week 30: Asemic Writing
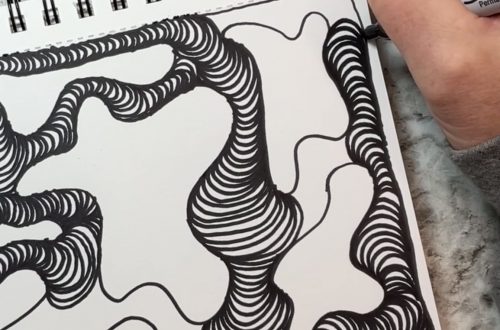
Week 42: More Mind-Quieting Lines